Experimenting With Infrared Film on Medium Format
Every now and then I find myself wanting to try something completely different with a camera. Not because I think it will improve my photography overnight, but because experimenting is part of the fun.
That was exactly how I found myself loading a roll of Rollei Infrared 400 into my Mamiya 645 Pro and heading out to photograph a landscape I'd never really paid much attention to before.
Infrared photography has always fascinated me. The dark skies, glowing foliage and dreamlike appearance can transform an ordinary landscape into something that looks as though it belongs in another world. At the same time, it can feel slightly intimidating. Exposure calculations become more complicated, focusing can be problematic, and there is always the possibility that an entire roll of film will come back as a collection of expensive mistakes.
This was my first proper attempt at infrared photography. There were successes, there were failures, and there were plenty of moments where I had absolutely no idea whether I was doing the right thing.
Looking back, that uncertainty is part of what made the experience enjoyable.
The Equipment
For this experiment I used:
- Mamiya 645 Pro
- 80mm Sekor lens
- Hoya IR72 infrared filter
- Rollei Infrared 400 film
- Tripod and cable release
The Mamiya 645 Pro has quickly become one of my favourite film cameras. While it isn't particularly small or lightweight, it feels reassuringly solid and the interchangeable film backs make it incredibly versatile.
The lens I used was the standard 80mm Sekor. One challenge immediately presented itself. Unlike many older lenses designed with infrared photography in mind, my lens doesn't have an infrared focus mark. Traditionally, infrared photographers would focus normally and then make a small adjustment using the infrared index mark on the lens.
Without that mark, I was effectively working blind.
Fortunately, most of my images were taken at relatively small apertures and focused towards infinity, giving me enough depth of field to compensate.
At least, that was the theory.
Discovering Blagdon Rings
The location for this experiment was Blagdon Rings in South Devon.
It's somewhere I've driven past countless times without ever stopping. From the road it appears to be little more than open fields, and I never really gave it much thought.
That changed after a dog walk there a week earlier.
Once I'd actually spent some time exploring the area, I realised there was far more variety than I'd expected. Ancient earthworks, woodland sections, views across the countryside and plenty of interesting trees all made it feel like a location worth revisiting with a camera.
The conditions on the day were ideal for experimenting.
Broken cloud drifted across the sky, sunlight appeared and disappeared throughout the afternoon, and the surrounding landscape was looking lush and green.
As I walked through one wooded section I couldn't help noticing the remains of the bluebell season. Most of the flowers were past their best, but it was obvious that only a few weeks earlier the woodland would have been spectacular.
It's already on my list of places to revisit next spring.
Infrared Photography Is Not as Simple as It Looks
Before leaving home I'd spent a considerable amount of time reading articles and watching videos about infrared photography.
As is often the case, understanding something in theory and putting it into practice are two very different things.
The Hoya IR72 filter looks almost black when held up to the light. Once attached to the lens, very little visible light reaches the film.
That means exposure times become significantly longer.
The calculations seemed straightforward enough.
Meter the scene.
Apply the filter factor.
Calculate reciprocity failure.
Take the photograph.
Simple.
Or at least it seemed simple until I was standing in a field with a camera, a tripod, a cable release and a growing suspicion that I had absolutely no idea what I was doing.
At one point my camera meter was suggesting exposure values that simply didn't make sense. Unfortunately, I had managed to misplace my handheld light meter, so I ended up relying on a phone app and a lot of guesswork.
Not exactly the confidence-inspiring start I had hoped for.
The First Photograph
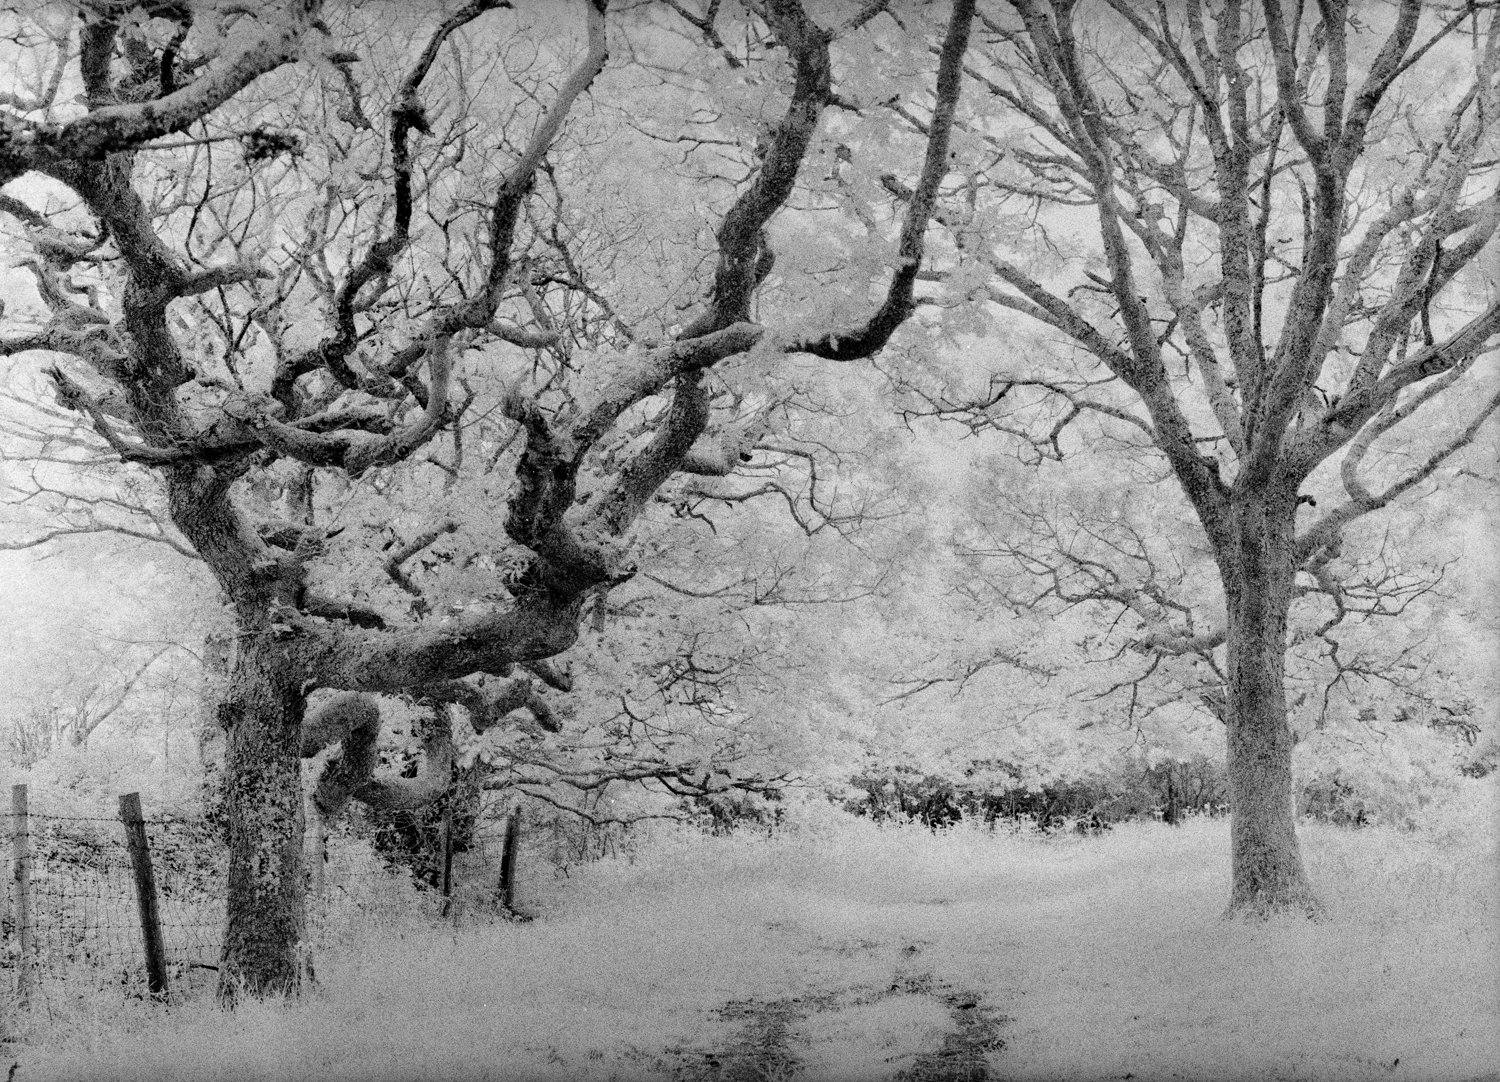
The first image I made was within a shaded woodland area.
I was drawn to a group of gnarly trees surrounded by foliage. The scene felt atmospheric and I thought it would make an interesting test subject.
The resulting exposure required approximately twenty seconds once filter compensation and reciprocity failure had been taken into account.
Standing beside a camera for twenty seconds doesn't sound particularly dramatic, but when you're taking your first infrared photograph and wondering whether every calculation is wrong, it feels like a very long time indeed.
When the negatives eventually came back, the result wasn't what I had expected.
Rather than the classic infrared look I'd seen online, the image almost resembled a winter landscape. The foliage lacked the bright glow I'd been hoping for and the overall scene felt softer than anticipated.
Looking back, I think there were two main reasons.
Firstly, the scene was heavily shaded.
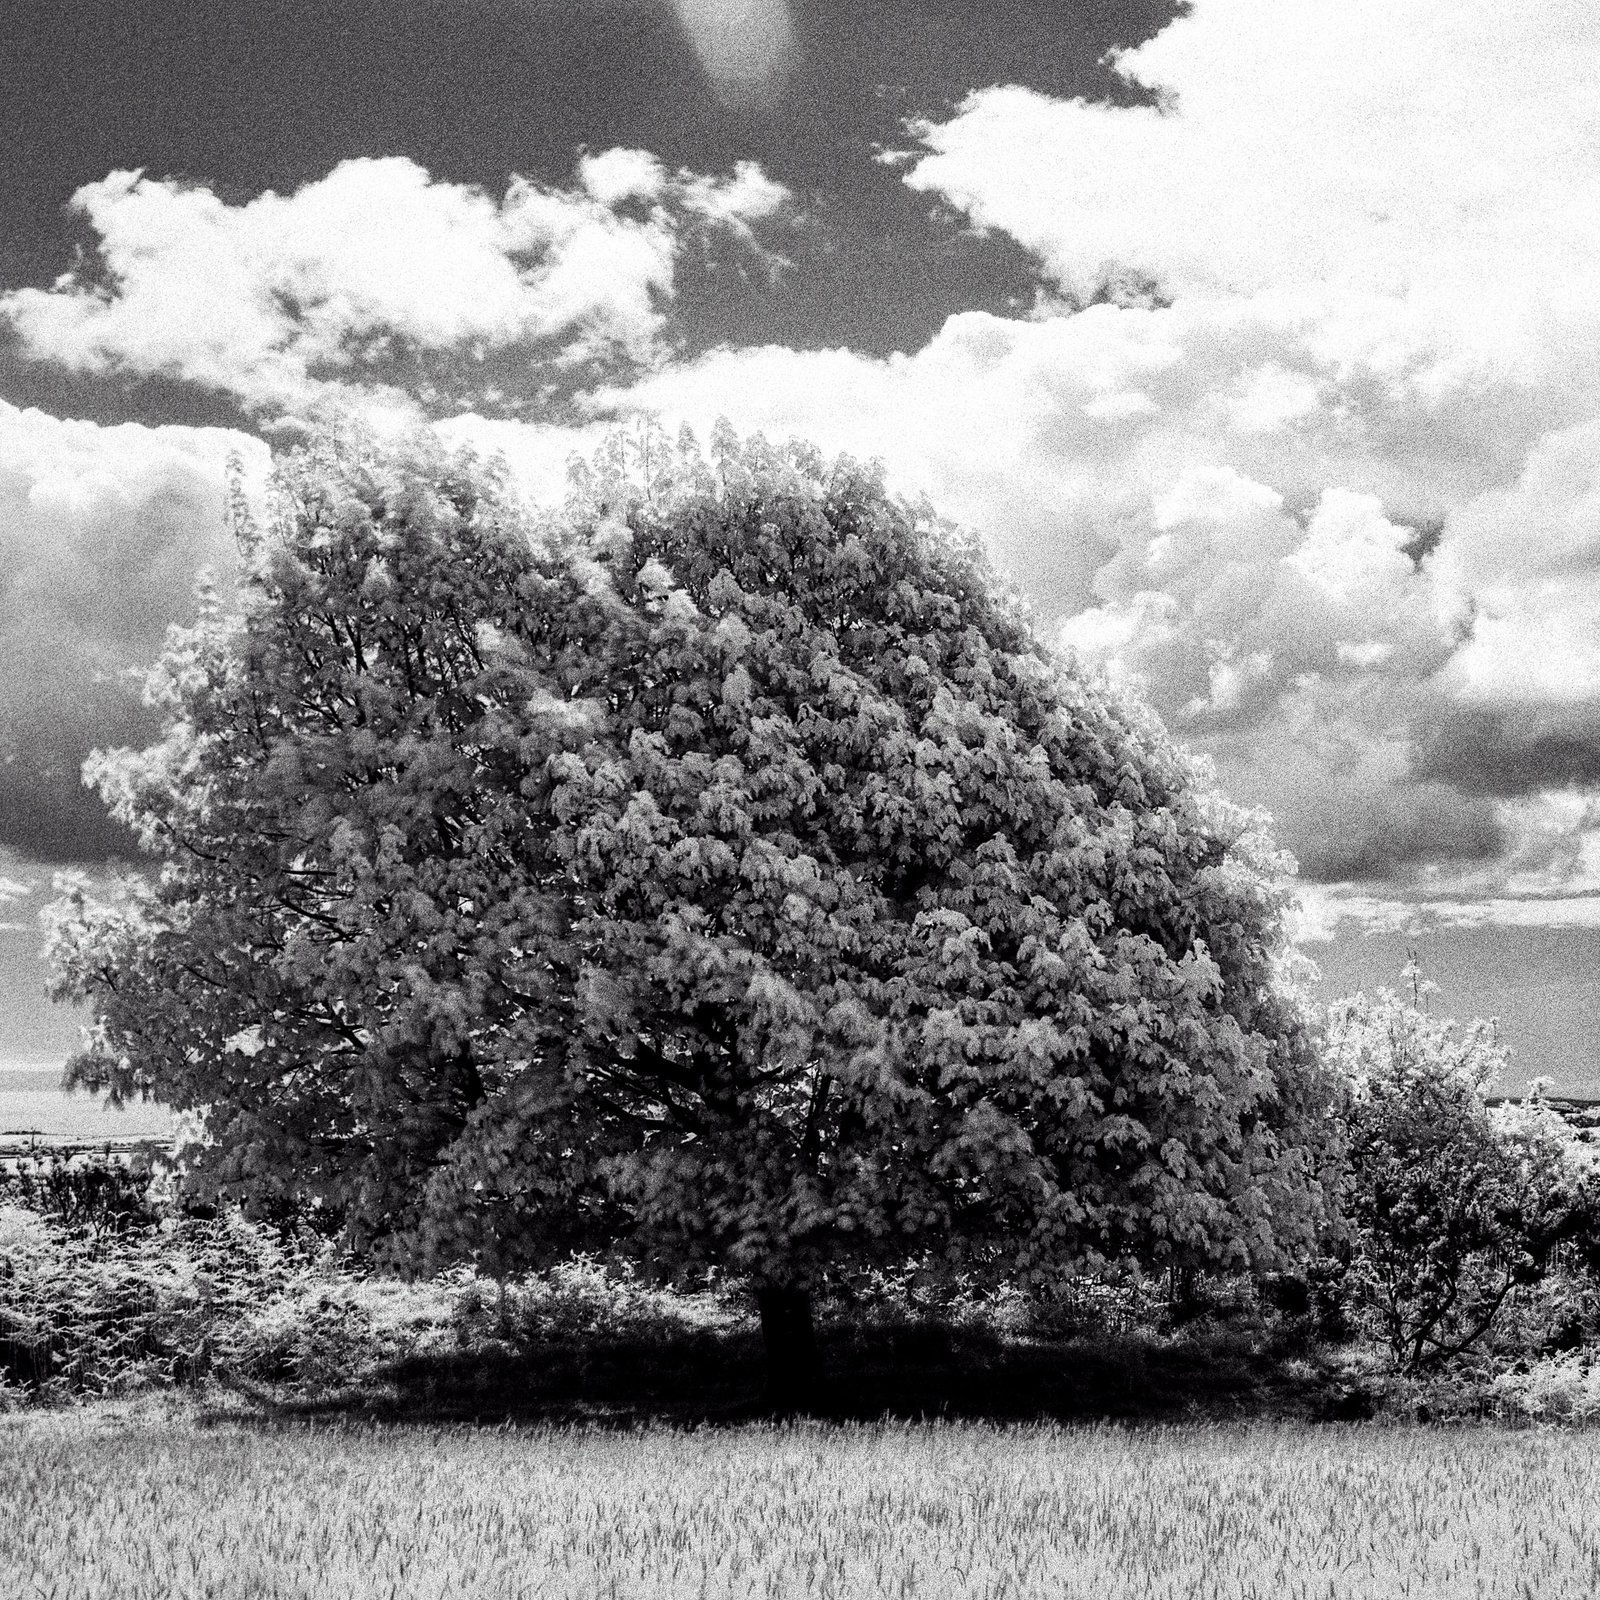
Secondly, there was enough wind movement to blur grass and leaves during the long exposure.
Despite that, I still liked the image.
It had a mood and atmosphere that conventional black and white photography wouldn't have produced.
Learning Through Failure
One thing I wanted to do with both the video and this article was show the photographs that didn't work.
Photography content often focuses solely on successful images. While that makes sense, it can create the impression that experienced photographers consistently produce great work.
The reality is rather different.
Many of my favourite photographs are surrounded by failed frames.
This infrared roll was no exception.
One image in particular was significantly overexposed. The tones merged together and much of the contrast disappeared.
Technically, it wasn't a successful photograph.
Yet there was still something intriguing about it.
The trees seemed to emerge from a sea of white, almost like apparitions appearing through fog. It wasn't what I intended, but it reminded me that mistakes can sometimes create unexpected results.
Not every failed image needs to be thrown away.
Sometimes they teach us something useful.
Sometimes they reveal creative possibilities we hadn't considered.
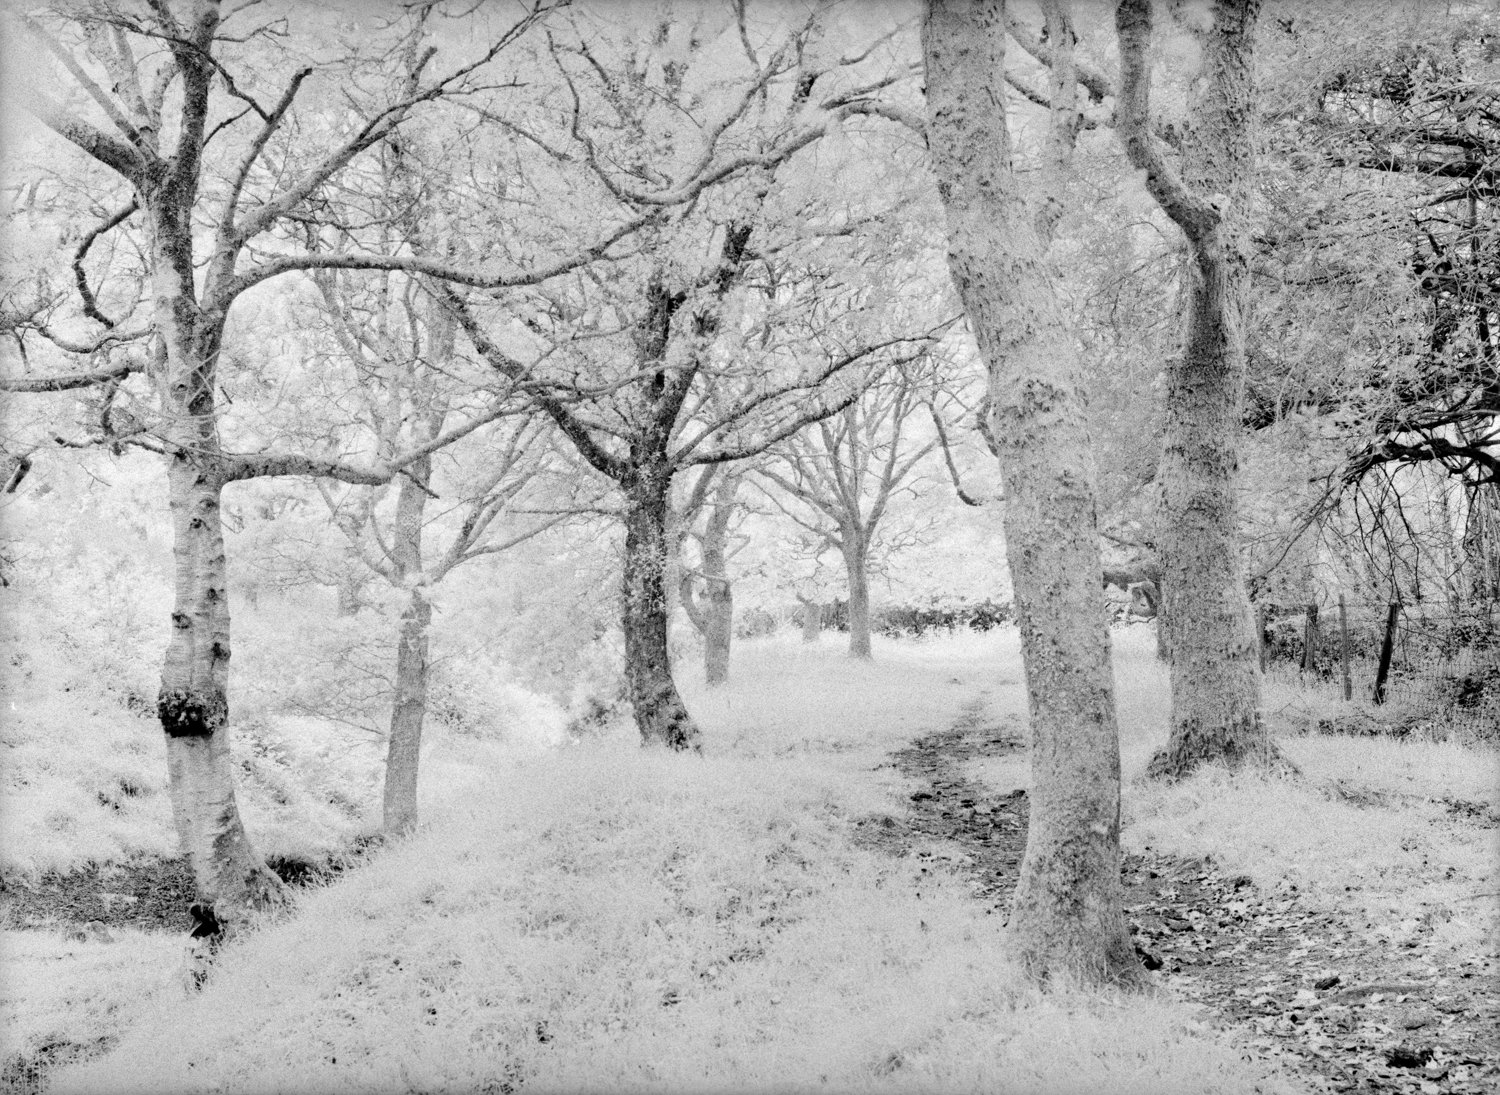
The above image is definatley not right with exposure settings as it is overexposed
The Classic Infrared Look
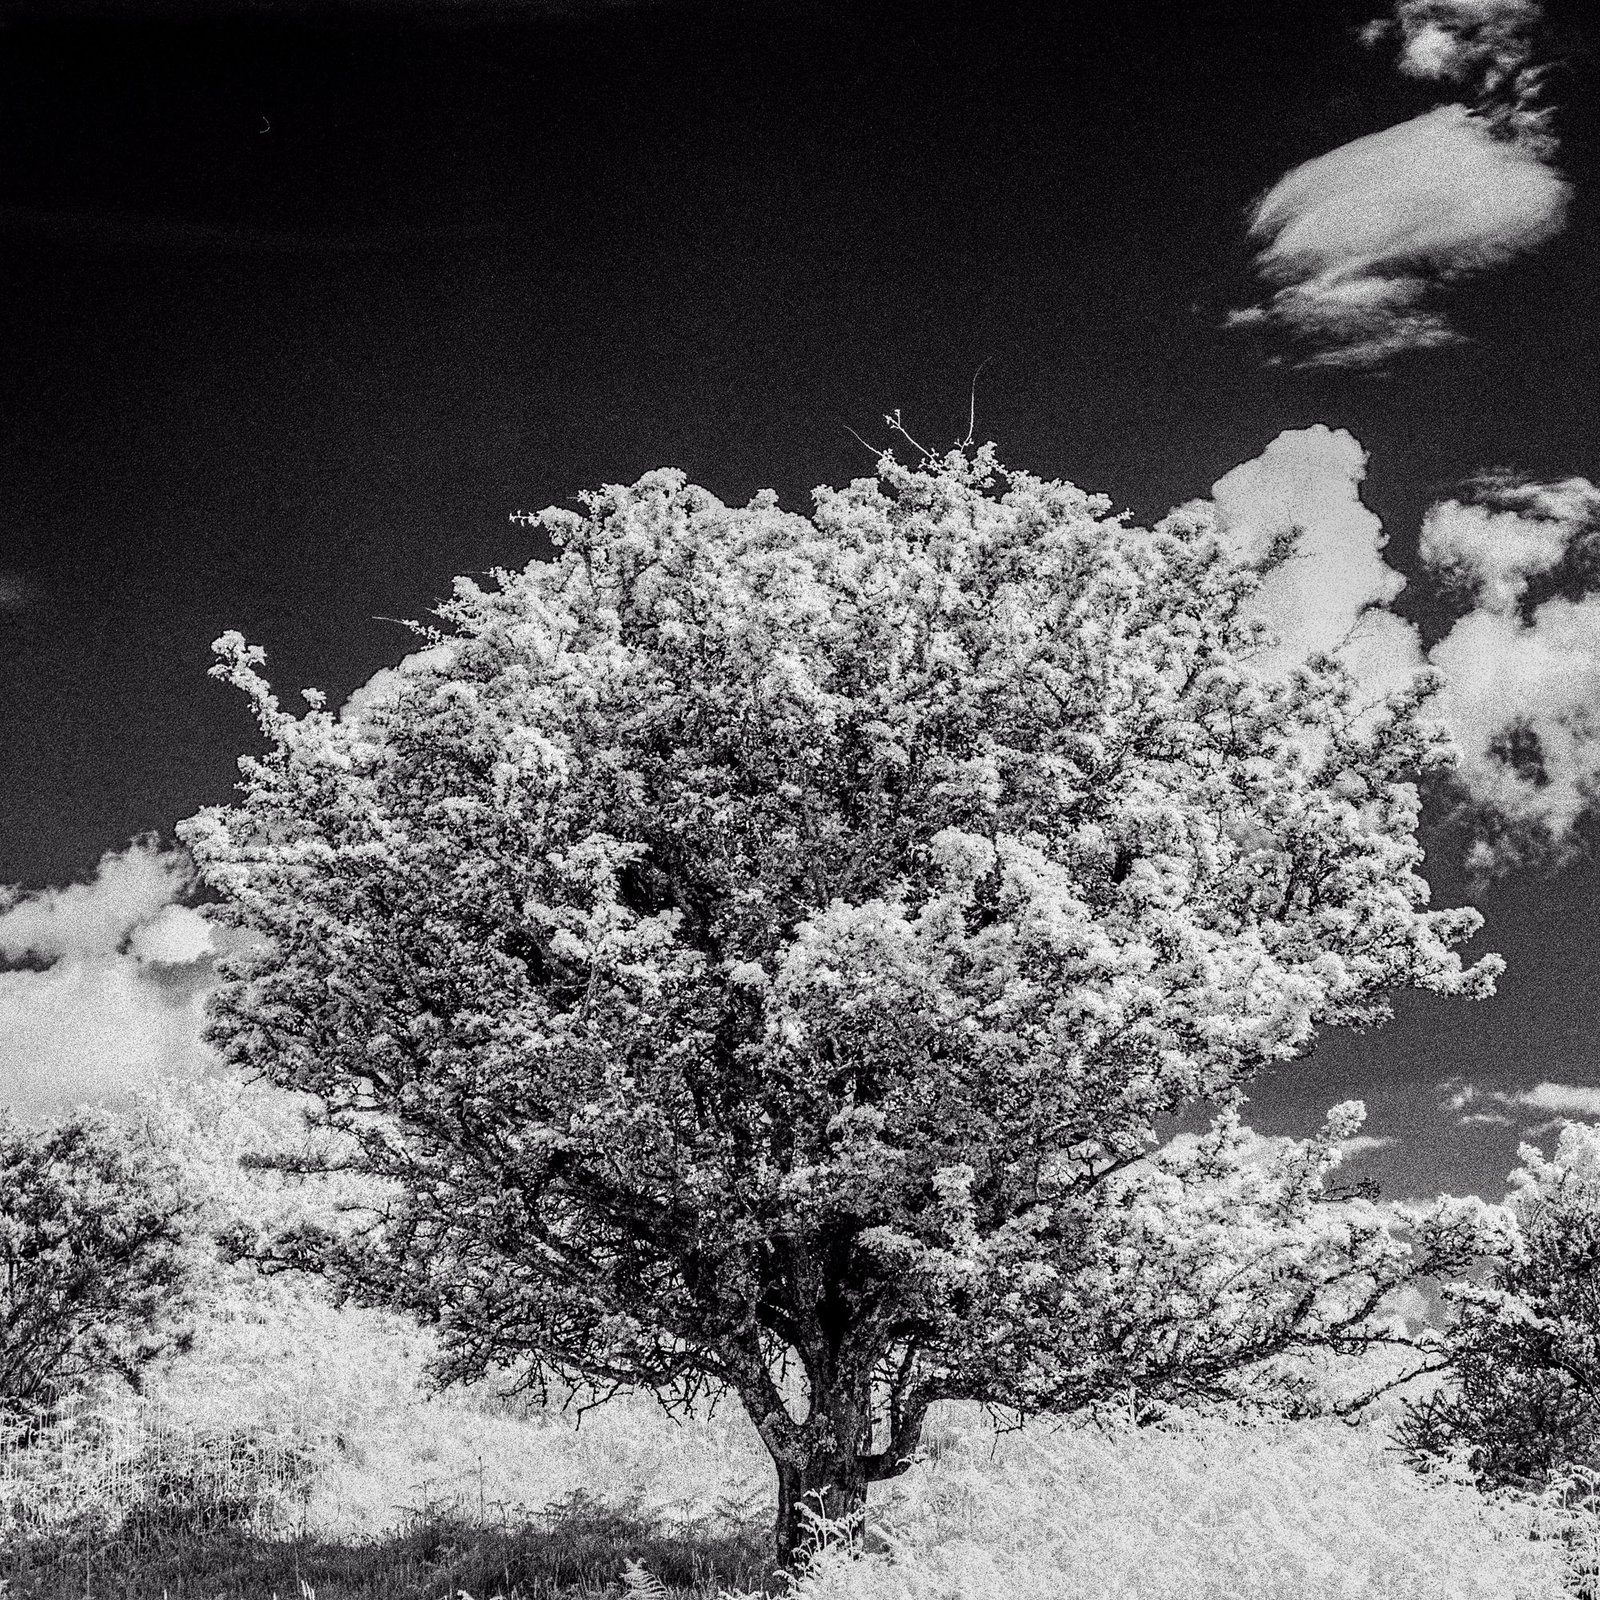
As the afternoon progressed and I moved into brighter sunlight, I finally started to see the results I'd been hoping for.
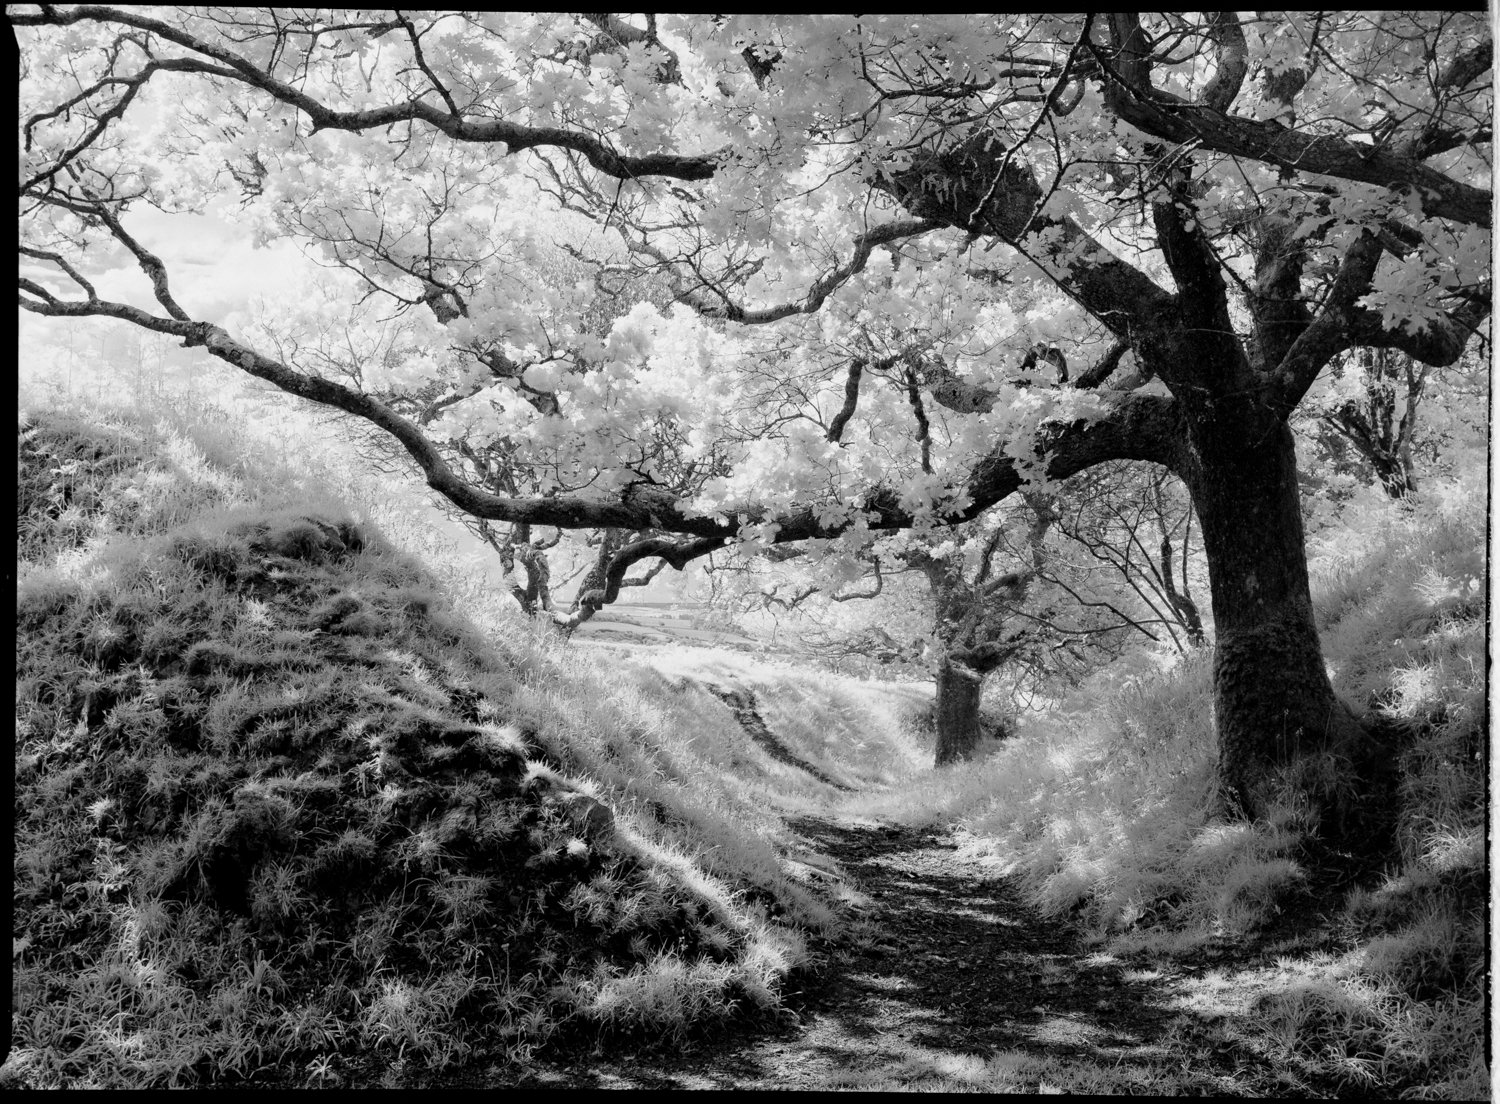
A solitary tree standing against a bright blue sky became one of the most successful photographs from the roll.
The foliage glowed.
The sky darkened dramatically.
The entire image took on that unmistakable infrared appearance.
It was exactly the kind of photograph that had encouraged me to try infrared film in the first place.
More importantly, it taught me something.
Infrared photography works best when there is plenty of direct sunlight.
The stronger the sunlight, the stronger the infrared effect appears to be.
The shaded woodland images had their own atmosphere, but the classic infrared look emerged when the sun was illuminating foliage directly.
Infrared Doesn't Create Composition
One lesson became obvious very quickly.
Infrared photography doesn't magically create strong photographs.
It can transform the appearance of a scene, but it can't compensate for poor composition.
A mediocre composition remains mediocre, regardless of how dramatic the infrared effect might be.
The photographs I liked most from the roll weren't necessarily the ones with the strongest infrared characteristics.
They were the ones where the composition worked first.
The infrared effect simply enhanced what was already there.
I think that's an important distinction.
Infrared photography is a tool.
It's not a shortcut.
Working With Medium Format
One reason I wanted to try infrared photography on medium format rather than 35mm was image quality.
Even basic lab scans revealed a surprising amount of detail.
In fact, one photograph in particular left me convinced there is considerably more information hidden within the negative than the standard scans are showing.
I'm seriously considering having some of the better frames professionally drum scanned.
The tonal transitions, textures and fine detail visible even in the basic scans suggest there is much more waiting to be extracted.
Medium format and infrared film seem to be a particularly interesting combination.
The larger negative captures an enormous amount of subtle information, which suits the surreal tonal qualities of infrared photography remarkably well.
0 Comments